Introduction
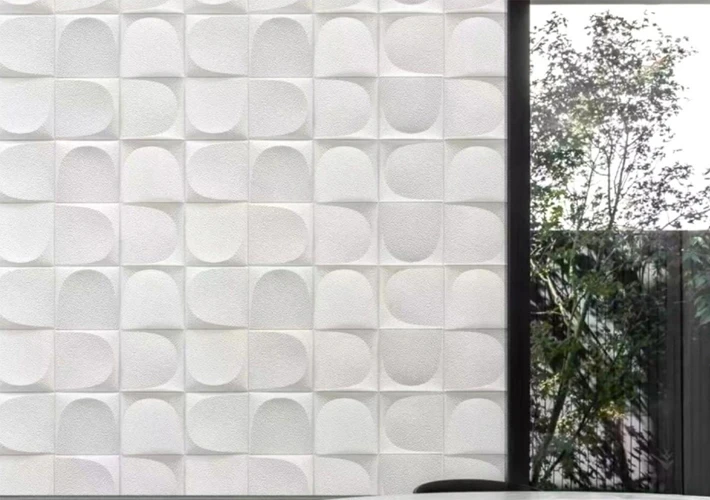
In modern construction and facade engineering, lightweight decorative cladding materials are rapidly replacing traditional stone systems. Among them, PU (Polyurethane) stone panels have become increasingly popular for exterior walls and facade decoration due to their balance of aesthetics, durability, and installation efficiency.
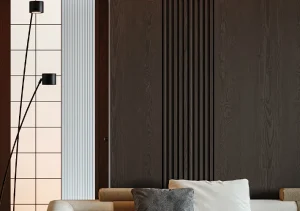
PU stone panels are engineered decorative cladding products made from high-density polyurethane combined with surface textures that replicate natural stone. Compared with traditional stone veneer or full stone cladding, PU panels provide similar visual appeal but with significantly reduced structural load and installation complexity.
This comprehensive installation guide will cover:
- What PU stone panels are
- Why they are widely used in exterior facade decoration
- Tools and materials required for installation
- Step-by-step exterior installation process
- Professional installation tips
- Common mistakes and how to avoid them
- Maintenance and long-term performance
- Cost and project planning considerations
This article is designed for contractors, architects, developers, and building material importers who need practical and technical guidance for exterior PU stone panel projects.
What Are PU Stone Panels and Why Are They Used for Exterior Facades
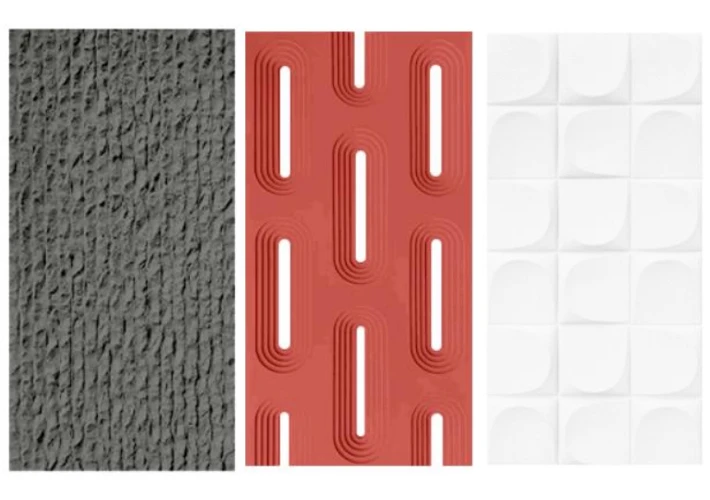
PU stone panels are decorative wall cladding materials made from polyurethane foam molded into realistic stone textures. Many modern panels include fiberglass reinforcement layers to improve strength and durability.
Key Material Characteristics
PU stone panels combine lightweight structure with mechanical strength. For example, reinforced PU stone panels can reach tensile strength levels around 15–20 MPa, allowing them to withstand lateral forces such as wind pressure.
They are also significantly lighter than natural stone:
- Natural stone: about 20–30 kg/m²
- PU stone panels: about 5–8 kg/m²
This reduces structural load and makes them suitable for high-rise or renovation projects.
Some sources note PU cladding can reduce structural stress by up to 70–80% compared with traditional stone systems.
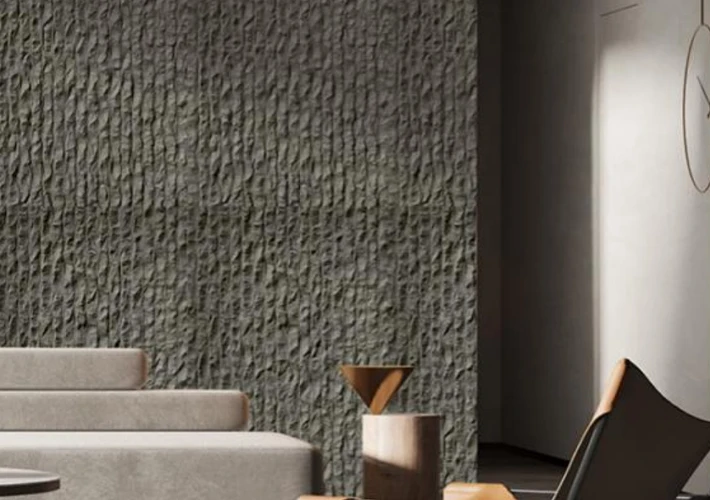
Exterior Performance Advantages
PU stone panels are widely used outdoors because of their:
- Waterproof closed-cell structure
- UV resistance and color stability
- Mold and mildew resistance
- Thermal stability in temperature swings
These characteristics allow them to perform well in rain, sun, coastal environments, and freeze-thaw cycles.
Advantages of PU Stone Panels for Exterior Wall Installation
1.Lightweight and Fast Installation
PU stone panels are typically 70–80% lighter than natural stone and can be installed up to 40% faster due to modular or interlocking designs.
This means:
- Less labor cost
- Lower transportation cost
- Easier handling on scaffolding
2.Moisture Resistance and Weather Durability
PU panels have non-porous surfaces that prevent water absorption and microbial growth.
Unlike natural stone, they do not require sealing or frequent treatment.
3.Thermal and Acoustic Insulation
Polyurethane provides natural insulation performance, helping improve building energy efficiency.
4.Low Maintenance Requirements
PU stone panels typically only require basic cleaning and do not need regular sealing like natural stone.
Limitations and Considerations Before Exterior Installation
Despite many advantages, PU stone panels are not perfect.
1.Heat Resistance Limitations
Polyurethane materials may deform under high heat exposure and are not suitable near fire sources.
2.Long-Term Aging Risk
Over many years of environmental exposure, synthetic materials may become brittle or lose mechanical strength.
3.Impact Resistance Compared to Natural Stone
PU stone is durable but not structural. Heavy impacts can cause cracking.
Proper installation and correct application scenarios are essential.
Tools and Materials Required for Exterior Installation
Essential Tools
- Circular saw or jigsaw
- Utility knife (for thin panels)
- Level ruler
- Rubber mallet
- Measuring tape
- Caulking gun
- Drill and fasteners (if required)
PU panels can typically be cut using saws or utility knives depending on thickness.
Required Materials
- Weather-resistant construction adhesive
- Exterior silicone sealant or grout
- Mechanical fasteners (for high wind areas)
- Waterproof membrane (if required)
Step-by-Step PU Stone Panel Exterior Installation Process
Step 1: Surface Preparation
Ensure wall surface is:
- Clean
- Dry
- Structurally stable
- Level and flat
Any dust or moisture can weaken adhesive bonding.
Step 2: Layout Planning
Before installation:
- Measure wall dimensions
- Plan panel layout
- Mark reference level lines
- Plan joint positions
Always start installation from bottom corner upward.
Step 3: Panel Cutting and Pre-Fitting
Cut panels for edges, windows, and corners using saw or knife.
Use templates for precision cutting.
Always wear safety goggles and dust protection.
Step 4: Apply Adhesive
Apply exterior-grade construction adhesive in zigzag pattern covering about 80% of panel backside.
This ensures strong bonding and wind resistance.
Step 5: Panel Installation
Press panel firmly to wall starting from bottom corner.
Use level tool to ensure alignment.
Tap gently using rubber mallet if needed.
Step 6: Mechanical Fixing (Optional but Recommended)
For exterior facade:
- Use screws or anchors
- Especially important for high-rise or windy regions
Step 7: Joint Sealing
Fill panel joints using silicone or matching grout to prevent water penetration.
Step 8: Final Cleaning
Clean panels using soft cloth and mild cleaner.
Professional Installation Tips for Exterior Facade Projects
1. Combine Adhesive + Mechanical Fixing
Best practice for exterior walls.
2. Install Waterproof Back Layer
Especially in humid or coastal regions.
3. Consider Thermal Expansion Gaps
PU panels have good flexibility but still require spacing.
4. Follow Local Fire Regulations
Some PU panels include fire retardant additives and meet fire safety standards depending on grade.
Common Installation Mistakes to Avoid
Mistake 1: Installing on Uneven Wall Surface
Result: panel detachment or uneven facade appearance.
Mistake 2: Using Interior Adhesive Outdoors
Always use weather-resistant adhesive.
Mistake 3: Ignoring Joint Sealing
Leads to water infiltration behind panels.
Mistake 4: No Mechanical Fastening in High Wind Zones
Increases long-term risk of panel detachment.
Maintenance and Long-Term Exterior Performance
Routine Maintenance
- Wash with water
- Use mild detergent
- Avoid harsh chemicals
PU panels resist mold, moisture, and staining.
Expected Lifespan
With correct installation and maintenance, PU stone panels can last many years in exterior environments.
Cost and Project Efficiency Advantages
Compared to traditional stone cladding:
- Lower installation labor cost
- Lower transportation cost
- Faster project completion
Some projects can be completed in 3–5 days instead of 10–14 days using traditional materials.
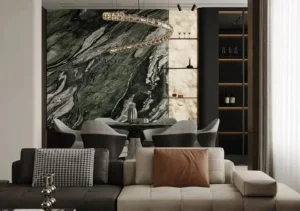
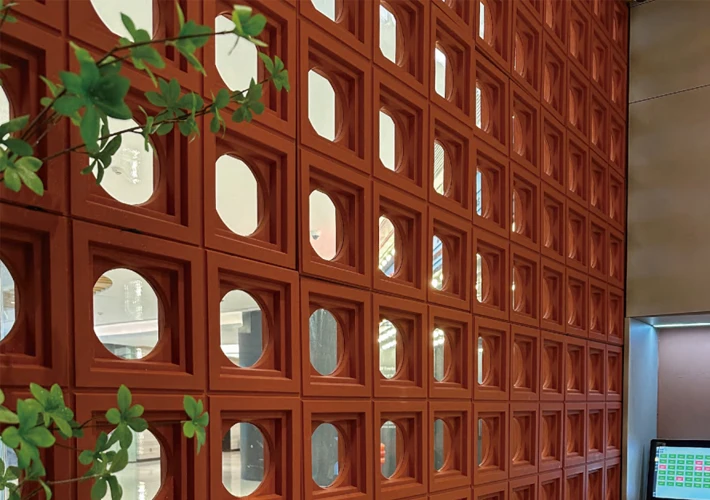
Exterior Application Scenarios
PU stone panels are widely used for:
- Building facades
- Villa exterior walls
- Hotel exterior decoration
- Commercial complex cladding
- Landscape retaining walls
- Garden architecture
Their lightweight nature makes them ideal for renovation and retrofitting projects.
Conclusion
PU stone panels are transforming exterior wall and facade decoration by offering a combination of lightweight structure, strong durability, weather resistance, and fast installation efficiency.
For modern construction projects focused on cost control, construction speed, and visual aesthetics, PU stone cladding provides an excellent alternative to traditional stone veneer or solid stone systems.
Successful installation depends on:
- Proper surface preparation
- Correct adhesive selection
- Mechanical reinforcement where required
- Professional joint sealing
With proper installation and maintenance, PU stone panels can deliver long-term performance and aesthetic value for residential, commercial, and hospitality facade applications.